Effective Visual Regression Testing for Developers: Vitest vs Playwright

Visual regression testing plays a crucial role in ensuring the UI and UX's consistency across different browsers, devices, and even screen sizes, especially for large applications. In this post, we will covers snapshot and pixel-to-pixel comparison with Vitest and Playwright, explore limitations, and provide insights into choosing the right visual testing approach for your project.
Table of Contents
- Table of Contents
- Prerequisites
- What is visual regression testing?
- Using snapshot for visual regression comparison in Vitest
- Pixel-to-pixel screenshot testing in Playwright
- Screenshot visual testing with Vitest's browser mode and Playwright
- Summary
Prerequisites
For the demo purpose, we will use a Vue 3 project with Vitest and Playwright installed, with a SearchBox component as follows:

The implementation of the SearchBox component is available in this post.
For React developers, you can replace the Vue component with a React one, and Vue Test Utils with React Testing Library to render component. The rest of the steps below remains the same.
What is visual regression testing?
Visual regression testing (or visual testing) is a technique to verify the visual appearance and usability of an application's UI between changes, helping to identify any unintended bugs that might occur to the existing functionalities during the development process. It focuses solely on validating the visual aspects of a component that a user sees or interacts with, including layout, styling, and other visual elements.
There are several types of visual testing, including DOM-based comparison (snapshot testing), pixel-based comparison and manual comparison using screenshots. Depending on the requirements, we can implement visual testing at different levels with different tools, such as unit testing with Vitest or E2E testing with Playwright, or combining the two.
We'll start with visual unit testing using Vitest.
Using snapshot for visual regression comparison in Vitest
Vitest provides a toMatchSnapshot() method to take a snapshot of the component and compare it with an existing one, as seen in the following test for SearchBox Vue component:
import { render } from '@vitest/vue'
import SearchBox from './SearchBox.vue'

describe("SearchBox component", () => {
  it('should match snapshot', () => {
    const wrapper = mount(SearchBox, {
      /** props and other global plugins */
    });

    expect(wrapper).toMatchSnapshot();
  })
})
Upon the first run, Vitest will take a snapshot of the SearchBox component and store it in a .snap file within the __snapshots__ folder:

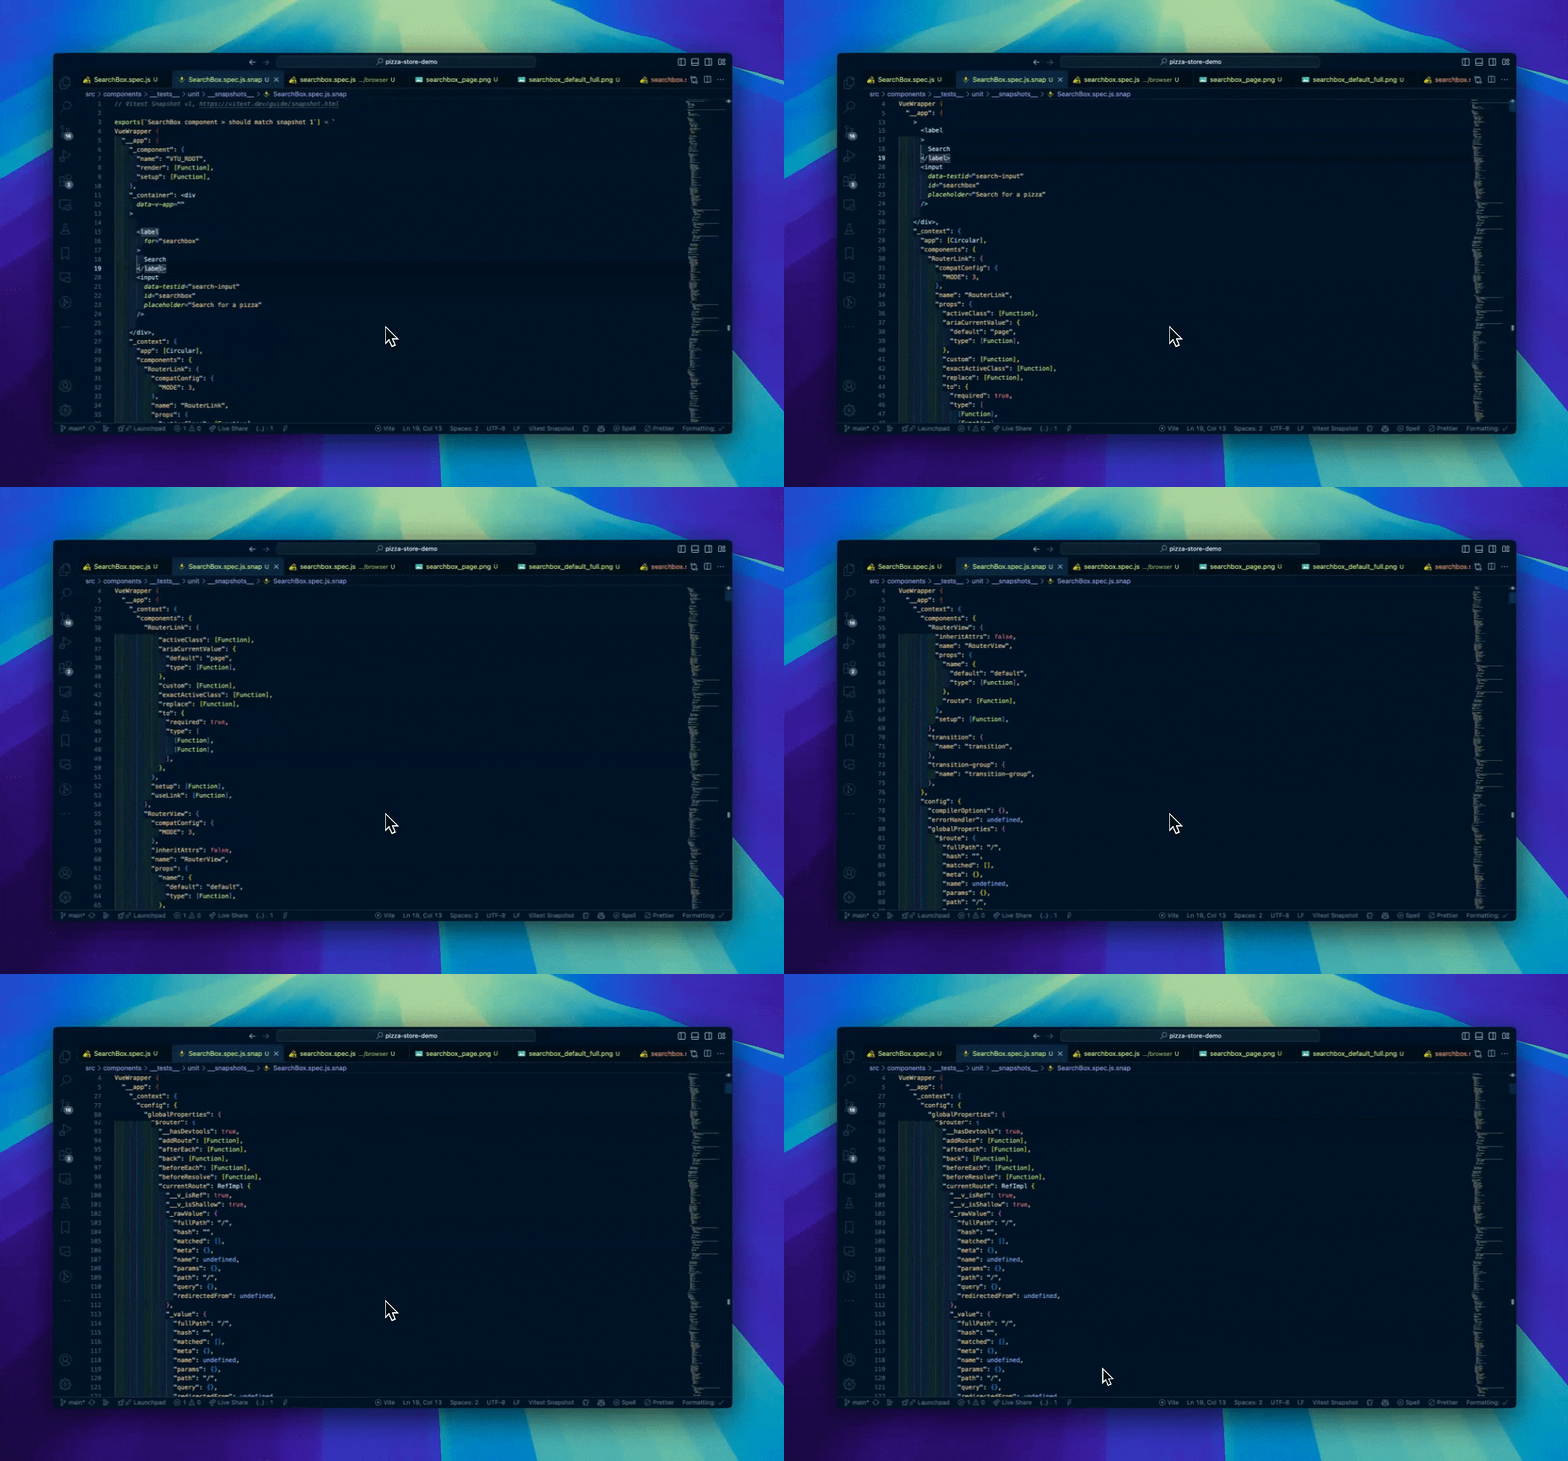
Below shows an example of the snapshot file, containing the component's DOM structures and HTML layout:

In the next run, Vitest will generate a new snapshot and compare it with the stored one. If they are different, for example, when we modify the input's placeholder to Search for a beer, the test will fail and Vitest will highlight the difference will in the terminal as follows:

Base on this result, we can decide whether to re-visit the changes, or update the snapshot file with the -u flag in the Vitest run command to accept them.
With that, we have enabled snapshot visual testing for our SearchBox component. However, there is a downside of using this method, which we will discuss in the next section.
Limitations of snapshot visual testing
Regular snapshot visual testing, unfortunately, does not fully provide a great developer experience, and high reliability level in visual consistency. It only compares the DOM structure and basic HTML layout of the component generated, without considering other styling aspects like colors, fonts, etc. For instance, if we change the input field #searchbox's color from black to red:
<style>
#searchbox {
  color: red;
}
</style>
The snapshot test will still pass, since it is unable to validate the style changes of the component. This limitation makes it less reliable for visual testing, especially for components with dynamic content or styles.
Another limitation is the readability of the snapshot files, which can lead to a maintenance nightmare, as developers may find it hard to identify the changes in these files for large components. After all, visual means what you see, and this snapshot testing does not provide a proper "see" representation.
A better alternative is using screenshot-based visual testing with Playwright, which we will discuss next.
Pixel-to-pixel screenshot testing in Playwright
To perform an E2E visual regression validation, Playwright provides a toHaveScreenshot() method that takes and compares screenshots of a specific component (in component testing), an element, or the whole page, as seen below for our SearchBox component:
/** e2e/searchbox.spec.js */
import { test, expect } from '@playwright/experimental-ct-vue';
import SearchBox from "../src/components/SearchBox.vue";

test("should match screenshot", async ({ mount, page }) => {
  const component = await mount(
    <SearchBox searchTerm="hello" />
  );

  await expect(page).toHaveScreenshot();
  await expect(component).toHaveScreenshot();

  /** other assertions */
})
On the first run, Playwright captures and stores the screenshots as an .png files to the __snapshots__\searchbox.spec.js-snapshots folder, with each file named based on the test case's name (should match screenshot), the testing browser (chrome) and the platform (darwin), as follows:

The generated screenshot file contains the view of the full page (1):

And of the component (2), as follows:

The runner also throws an error. From the second run onwards, Playwright will compare the new screenshots with the current stored ones, and highlight the pixel difference (with ratio) in the terminal, such as when we change the input's font color to red:
An image of the expected result, the actual result, and the difference between them is also available in the test result dashboard in the browser:

Additionally, we can adjust different the screenshot matcher's configurations like the maximum pixel difference maxPixelDifference, and threshold level by providing them as options to the toHaveScreenshot() method as follows:
await expect(page).toHaveScreenshot({
  maxPixelDifference: 100,
  threshold: 0.1,
});
With the above settings, Playwright will allow a maximum of 100 pixels difference and a threshold of 0.1 for the screenshot comparison. This way, we can fine-tune our visual testing to meet the project's requirements.
toHaveScreenshot() method is a great tool, as it provides a pixel-to-pixel visual comparison for the component. However, it only works with native Playwright tests, and isn't supported in Vitest's browser mode. For that, we need to use screenshot() method in the next section.
Screenshot visual testing with Vitest's browser mode and Playwright
We first need to install the relevant packages and enable the browser mode in Vitest, following this tutorial.
Once enabled, Vitest will then use Playwright to run all the tests in browser mode. Similar to the native Playwright, within a test, we can use screenshot() method to take a screenshot of a specific element, such as input, and save it to the path provided:
/**... */
  test('renders search input', async () => {
    /**... */
    const input = component.getByTestId('search-input')

    await input.screenshot({
      path: 'screenshots/searchbox_default_full.png',
    })
  });
The above code results in a screenshot of the input field, as shown below:

For the page's screenshot, we use the page object, from @vitest/browser/context, which is similar to the native Playwright's page object:
import { page } from '@vitest/browser/context';
/**... */
  test('renders search input', async () => {
    /**... */
    await page.screenshot({
      path: 'screenshots/searchbox_page.png',
    });
  });
Similar to toHaveScreenshot(), we can also adjust the screenshot's configuration by providing additional options to the screenshot() method, such as type, clip, omitBackground, etc., to define the file format, or capture the component's specific area.
Upon running the test, Vitest will take the screenshots and store them accordingly, ready for us to manually verify the UI, or integrate with an analyzer such as Applitools or Percy for visual comparison in an automated workflow.
But that's also the limitation of using Playwright's screenshot(), as it requires manual verification or integration with third-party tools, which can generate additional costs. At the time of writing, Vitest browser mode does not support Playwright's toHaveScreenshot() method or toMatchImageSnapshot() matcher from Jest-Image-Snapshot, which would have been a better option.
Summary
We have explored briefly different methods of visual testing with Vitest and Playwright, from manual to automated visual comparison with snapshot and screenshot, and the pros and cons of each approach. It is essential to consider your project's requirements and budget for choosing the suitable testing approach and keep the process efficient.
What's next? How about trying it out yourself and see which method works best for your project? Let me know your thoughts in the comments below!
👉 Learn about Vue 3 and TypeScript with my new book Learning Vue!
Like this post or find it helpful? Share it 👇🏼 or Buy me a coffee
Learning Vue
Learn the core concepts of Vue.js, the modern JavaScript framework for building frontend applications and interfaces from scratch
