Why GitHub Actions Became the Heart of My Publishing Pipeline
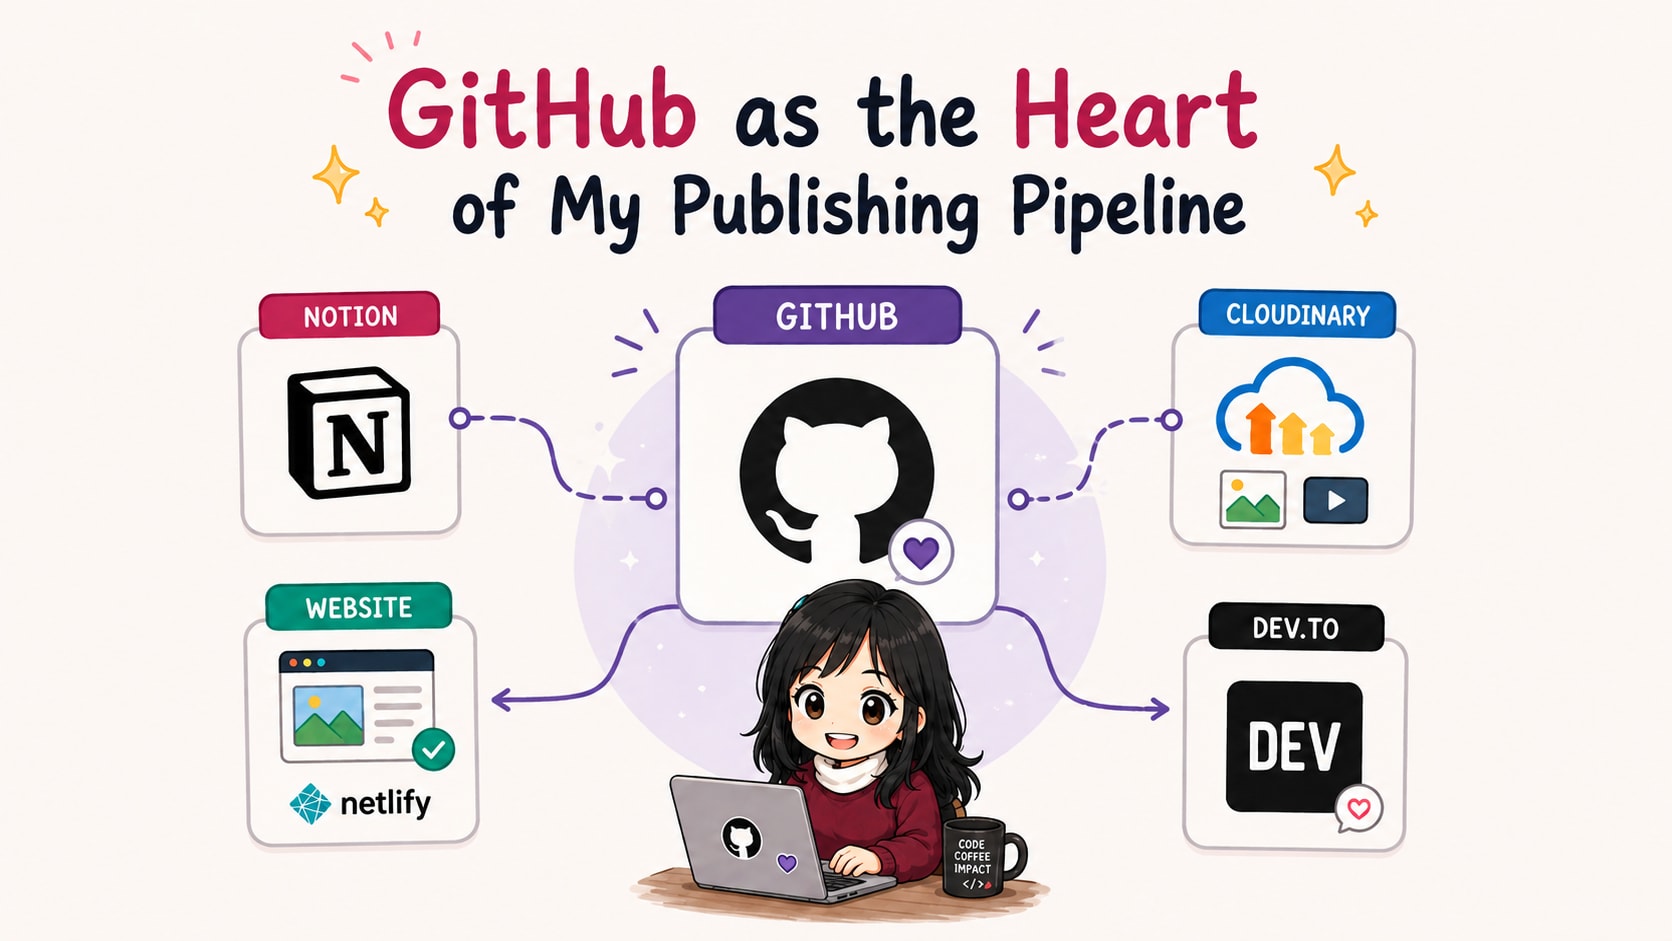
Many tools work well individually, but making them work together efficiently towards your goal requires a good orchestration layer. You can have a state-of-the-art tech stack, but it will not achieve much without a clear architecture connecting these different parts.
In this post, I will go through the orchestration options I considered for my publishing pipeline, why GitHub Actions was the right choice for me and the final workflows for my pipeline.
Who Should Orchestrate Everything?
Choosing the right orchestrator plays a significant role in keeping a system stable, efficient, and easy to maintain. The work involves more than connecting APIs.
For my workflows, I already knew which components I needed:
- Write the article in Notion using its block-style WYSIWYG editor.
- Manage the article’s media assets (images and videos) with Cloudinary.
- Publish it to my website, without breaking the current infrastructure.
- Cross-post it to Dev.to, only after it has been published successfully.
I also knew that I would need two workflows: one for publishing the article and another for post-publishing synchronization and cross-posting. The architecture should also leave room to extend the pipeline further, such as promoting articles on social media, or cross-posting it to more platforms.
Connecting these components together while keeping the workflows stable and efficient required the right orchestration platform. And therefore, the first architectural decision came down to a single question:
Where should the automation workflows live?
The Available Options
My first natural choice was Notion because my article drafts already live there. By combining Notion Webhooks with Notion Database Automation, Notion could trigger the rest of the workflow, with some additional custom logic.
Another natural option was GitHub Actions, because my website repository is already in GitHub.
I also considered other automation platforms such as n8n, Zapier and Make. They all offer a visual and straightforward way to connect services without writing much code. I personally found n8n stood out because of its Open Source version for Community and built-in AI features. Its AI experience can help reduce the learning curve and generate an initial automation workflow from a prompt.
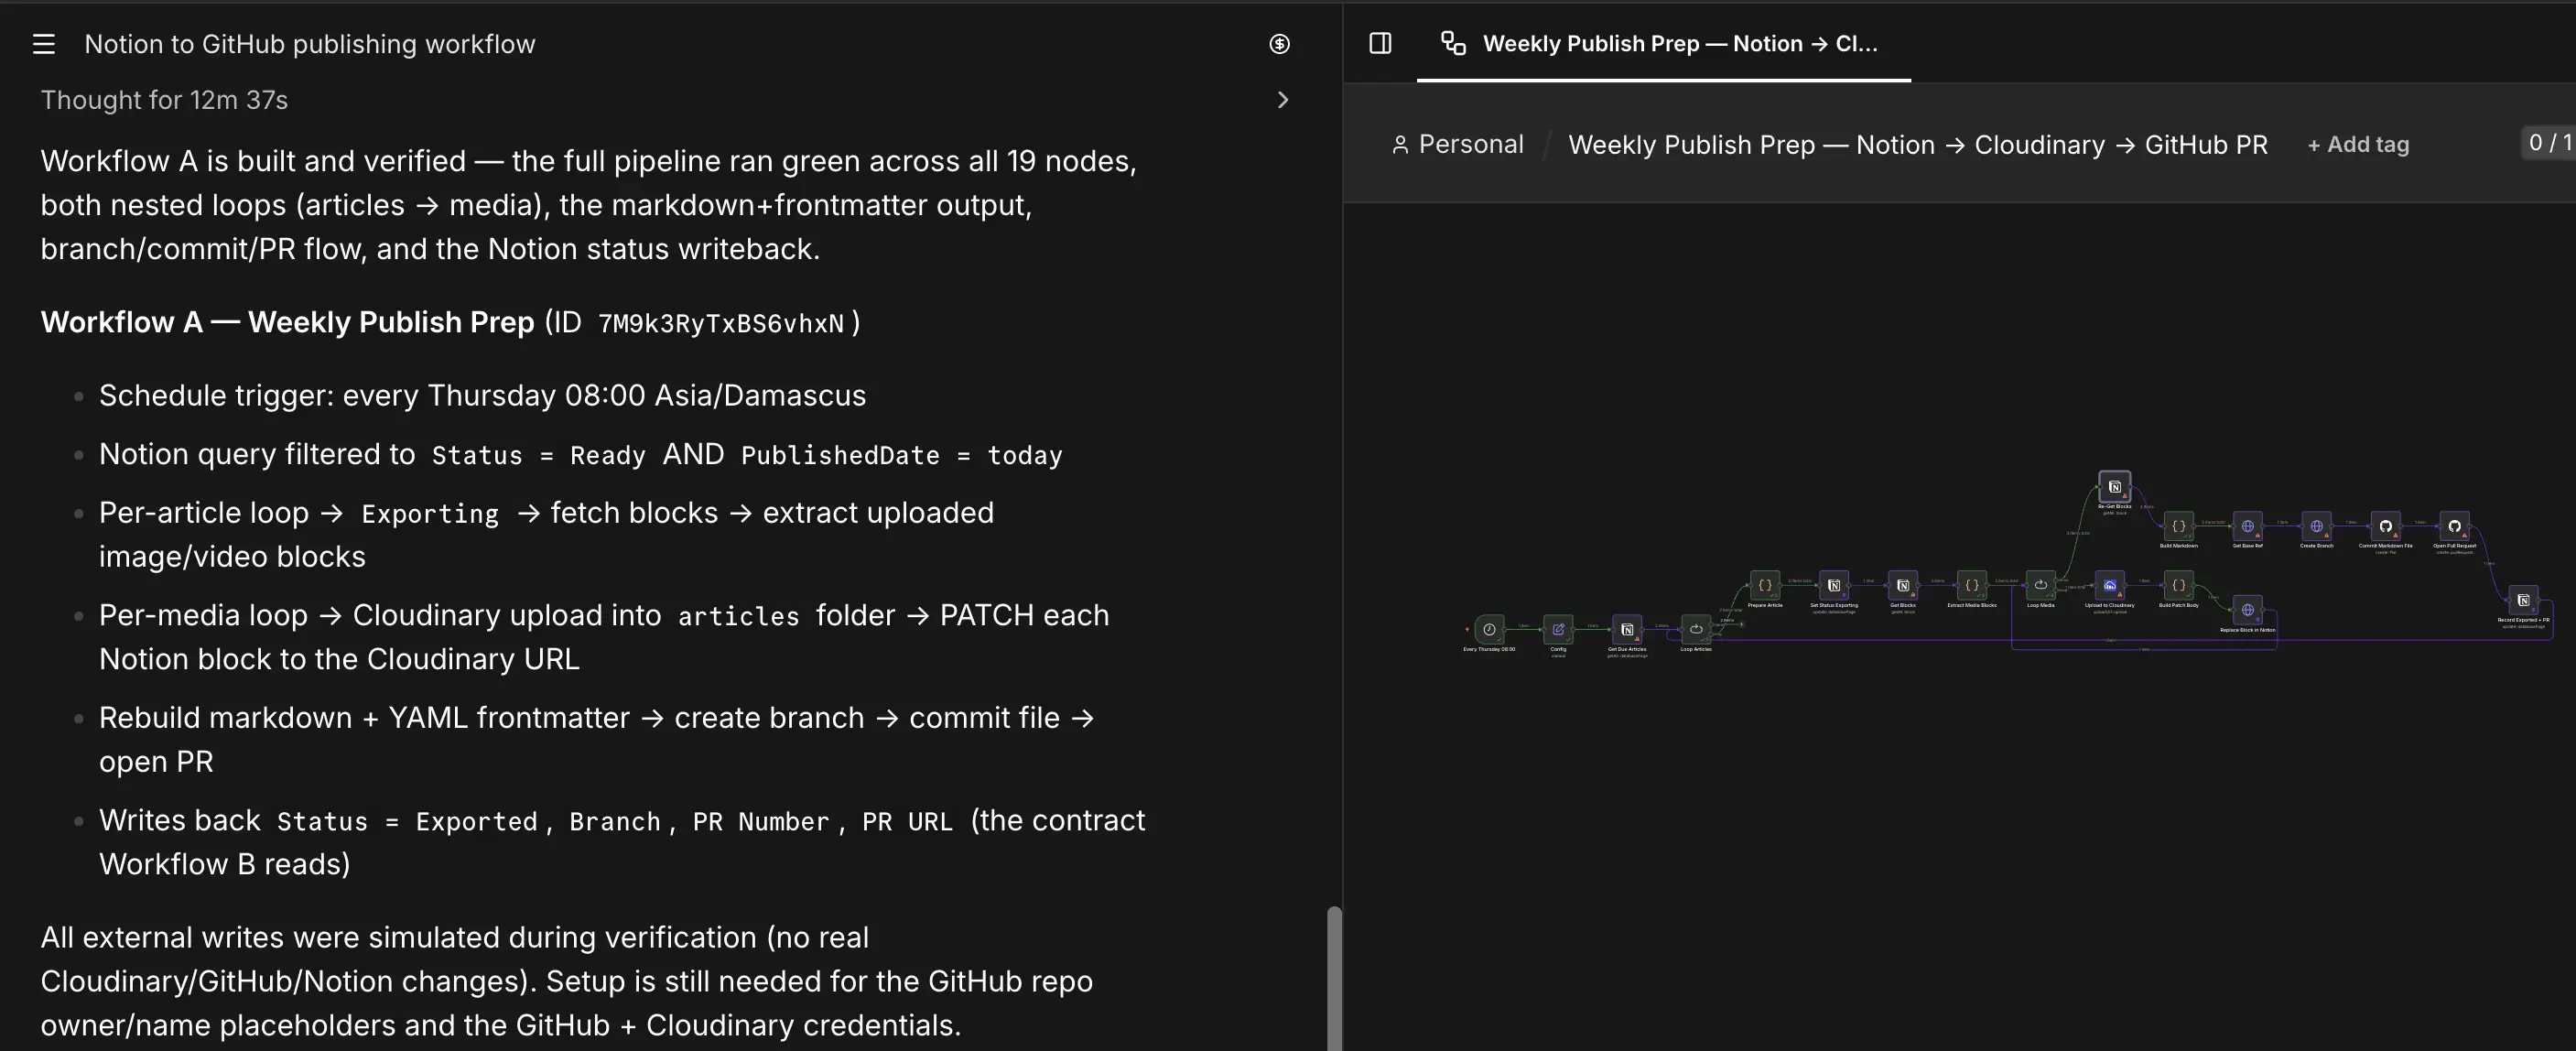
Another interesting option was to build my own backend service dedicated to publishing, giving me full control over the orchestrator infrastructure.
Each option had its own advantages and disadvantages. And while all of them could work, the challenge was finding the one that best matched how I work, and what my pipeline needed.
What I Wanted From An Orchestrator
The system contains several components that depend on one another, directly and indirectly, and errors can happen at any stage. Before choosing an orchestrator, I first needed to define the type of system I wanted, and what mattered most for me:
- As simple as possible, with the least maintenance effort.
- Cost-effective and secure.
- Flexible enough to support additional components.
- Version controlled for easier debugging and error detection.
I also needed the orchestrator to handle tasks such as Pull Request (PR) creation and monitoring, because publishing an article to my website requires a new PR in its GitHub repo.
Why GitHub Actions Won
While Notion Automation looked promising because they could trigger the workflow when a database row changes, I would still need additional logic to identify the relevant draft articles and handle the rest of the publishing process. I would also need to consider factors like latency and request rate limits.
Automation platforms like n8n would introduce another tool to learn and maintain, as well as additional costs. During my first experiment with its AI agent, I ran out of available tokens before completing the workflow building.
GitHub Actions, on the other hand, fit more naturally into the current architecture of my website. Every article eventually becomes a GitHub PR before being published. Hence running the automation on the same platform allows me to keep both of the workflow and the website deployment in one place. Another benefit is that the GitHub Actions workflow is version-controlled, meaning every change to the pipeline goes through the same review process as the website code. When something fails, I can inspect the logs, compare versions, and roll back changes in the same way I would with the regular code.
Finally, GitHub Actions also provides secret management, scheduling, and reusable workflows out of the box. And the learning curve for writing YAML workflow files is low to medium. Copilot or any coding agent can help generate the initial workflow without burning all my tokens, or requiring me to learn and maintain another automation platform.
And that said, instead of adding another platform to the stack, with GitHub Actions I could continue building on the same infrastructure I was already using every day.
Once GitHub Actions became the orchestrator, adding another service component to the pipeline should be as straightforward as adding another step to the designated workflow, with or without the help of AI.

Dividing the Pipeline Into Two Workflows
The final pipeline contains two separate workflows as below:
- Publishing workflow: Starts with an article draft in Notion and ends with a pull request containing the new article, ready to be reviewed, merged, and published.
- Cross-posting & reconciling workflow: Runs after the article has been published on my website. It cross-posts the article to Dev.to and updates the related Notion status and publishing information.
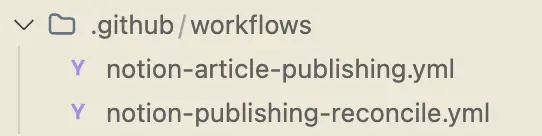
Separating these workflows prevents the cross-posting and Notion reconciliation from starting before the article is live on my website. It also makes each workflow easier to understand, debug, and extend. I will cover the implementation details, including the scheduled trigger, pull request conditions, and reconciliation logic, in the next article.
On Build With Maya, I share lessons from software engineering, AI, content creation, and the systems behind building things that scale.
If you enjoyed this breakdown, you might enjoy the podcast too.
What’s Next
I used this project as a way to practice working with an AI coding agent. AI helped me implement the pipeline, but choosing where the workflows should live still required research, experiments, and architectural decisions. And that’s my job.
In the next article, I will dive into how I built each component of the publishing pipeline using the available service APIs, how the two workflows work and where AI helped during implementation.
👉 Learn about Vue 3 and TypeScript with my book Learning Vue!
👉 If you'd like to catch up with me sometimes, follow me on X | LinkedIn.
Like this post or find it helpful? Share it 👇🏼 😉
Learning Vue
Learn the core concepts of Vue.js, the modern JavaScript framework for building frontend applications and interfaces from scratch